I am starting a new smock to wear as the undergarments for a new Elizabethan outfit. I started with the Tudor Tailor's pattern for the smock. I read through the directions and realized that I was going to need to make a muslin of the smock so that I could make sure it would fit. The Tudor Tailor pattern is drawn for a size 12-14. Here is a quick sketch of what I ended up doing.
A mockup is needed for this garment if you are not really close to the measurements of TT. Here is a list of steps that I took to get a pretty awesome fitting garment.
- Measure your chest, waist, hips, the largest part of your bicep while you are flexing, the length of your arm from shoulder point to your wrist, neck, wrist, and the distance between your shoulders. Write all of these measurements down. I always say I'm going to do this... and I don't always. It's a good habit, I should do it more.
- Get a cheap fabric like cotton muslin, some rulers, some washable markers, and scissors.
- Fold the fabric so that it the entire width and doubled. Start with the large rectangle for your chest. This width of the rectangle is your chest measurement plus 4" for ease, and plus your seam allowance on both sides. The length of the rectangle is however long you want your smock to be. I made mine knee length.
- Starting from the center of your rectangle, mark your shoulder width plus seam allowance on the fabric.
- For the front neckline, I measured about 3 inches from the center of the rectangle to either side and about 2 inches down from the center. Then I drew a gentle curve to match these points. If you have a french curve, you can use that. Or you can use a flexible ruler. The back neckline I did the same width and then about 1 inch down from the center. Start small because you can always remove fabric. You will get a better neckline when you can try it on.
- After determining the width of your sleeve, measure and mark 1/2 the sleeve width as the diagonal line from the shoulder point. This will help keep your sleeve on your arm.
- For the sleeve, start with a rectangle that is the width of your bicep flexed plus 5" which gives 4" ease and seam allowance. Next draw the length of the rectangle as the length of your arm plus 1" for seam allowance. You can also choose to add length so that the sleeve will have more puff to it. If you want to tape the sleeve, subtract at least 2 - 3 inches from each side and draw a diagonal line to those markings.
- As for the side gores, to be honest, I used the same size that was in TT. My gore was about 30 inches long and 8 inches wide.
- The gussets are 4" x 4" squares.
- The cuff is 2 inches wide by the width of your wrist + 2" for design ease and seam allowance.
- The collar is going to depend on your final neckline. Cut out the body pieces, cut the necklines you drew and baste together at the shoulder seams. Cut the center slash open. I made mine about 10 inches from the bottom of my original neckline.
- Run to mirror and check out the fit of your neckline. Run back and grab a marking pen. Make certain the smock is sitting on your shoulders correctly and then mark, if needed, where the neckline needs to be adjusted. My neckline was too small, so I quickly drew a new jewel neckline and then cut that out.
Once I made these adjustments, it was simple to follow the rest of the Tudor Tailor's instructions on how to put the smock together. My smock muslin was fitted but still roomy enough that I felt comfortable.
I also put together some test samples for seam treatments based off of Janet Arnold's Patterns of Fashion 4. The first sample is based on seam treatment of a white linen shirt from the Warwickshire Museum Services. It is on page 22 of the book. Each piece is hemmed so that all the raw edges are fully enclosed. Then a blanket stitch is worked over each edge. Then both edges are laced together by a new thread and creates a beautiful, and surprisingly strong, decorative stitch. What I learned from my sample is that in order to make it more visible, I need to reduce the seam allowance, make a rolled hem, blanket stitch, baste the pieces down onto some graph paper a small distance from each other, and then lace between the blanket stitches.
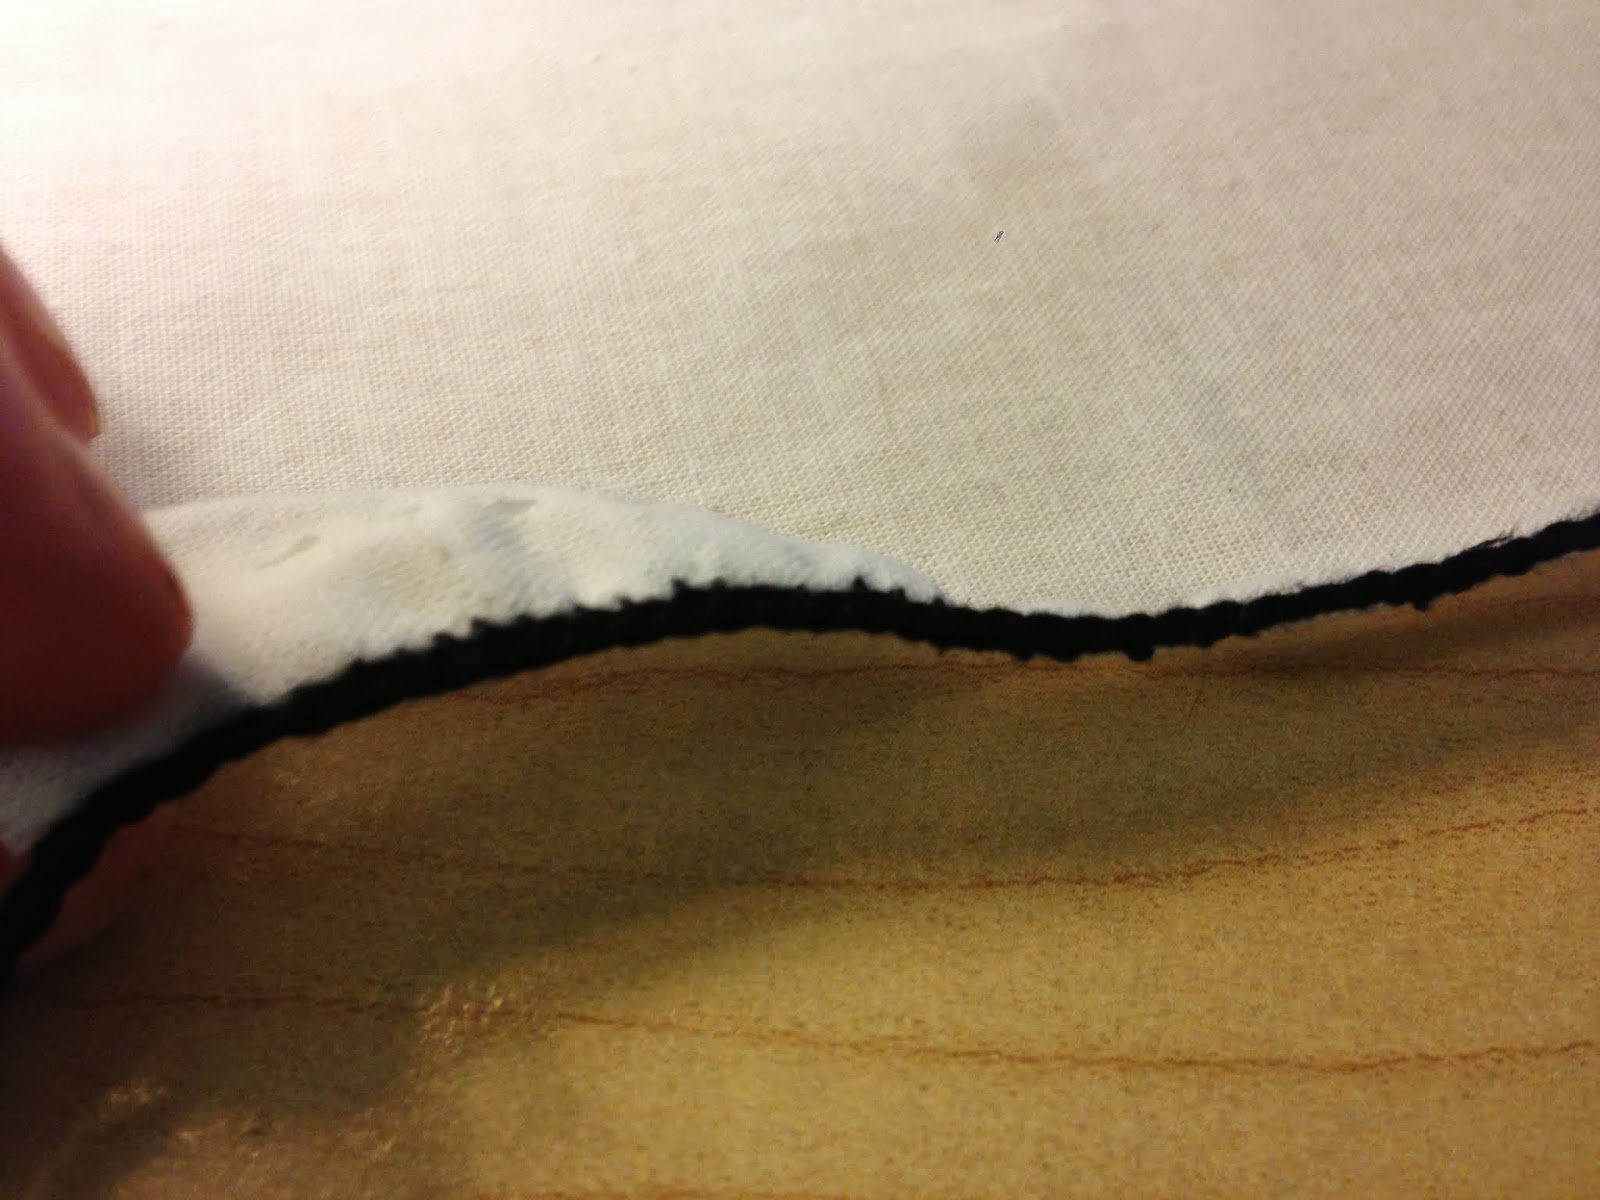
The next sample is also from POF4. It is a braid attached to the edge of a ruffle shown on the white linen shirt worn by Nils Sture from the Upsala Cathedral Museum and located on page 21. I made a quick three-way plat and whipped the braid onto the edge of the hem. The hem on my sample is also much too large. I believe I need a felled or rolled hem. I want to do this technique on the ruffle at the neck and wrists of my smock.


Comments
Post a Comment